It can sometimes be complicated to generate a certificate. Even though Let’s Encrypt allows us to get free certificates that can be renewed every three months, it is sometimes tedious to do so.
A friend (@pgrasseels) introduced me to a handy tool for creating Let’s Encrypt certificates. The tool is called Certbot.
It is entirely free, but to thank the developers, a small donation will always make them happy.
For this article, I will use a domain name bought on iKoula, and the website is hosted on Azure. For the installation of the Certbot tool, I’m on a Windows Subsystem for Linux system with an Ubuntu 18.04 LTS distro.
Install Certbot
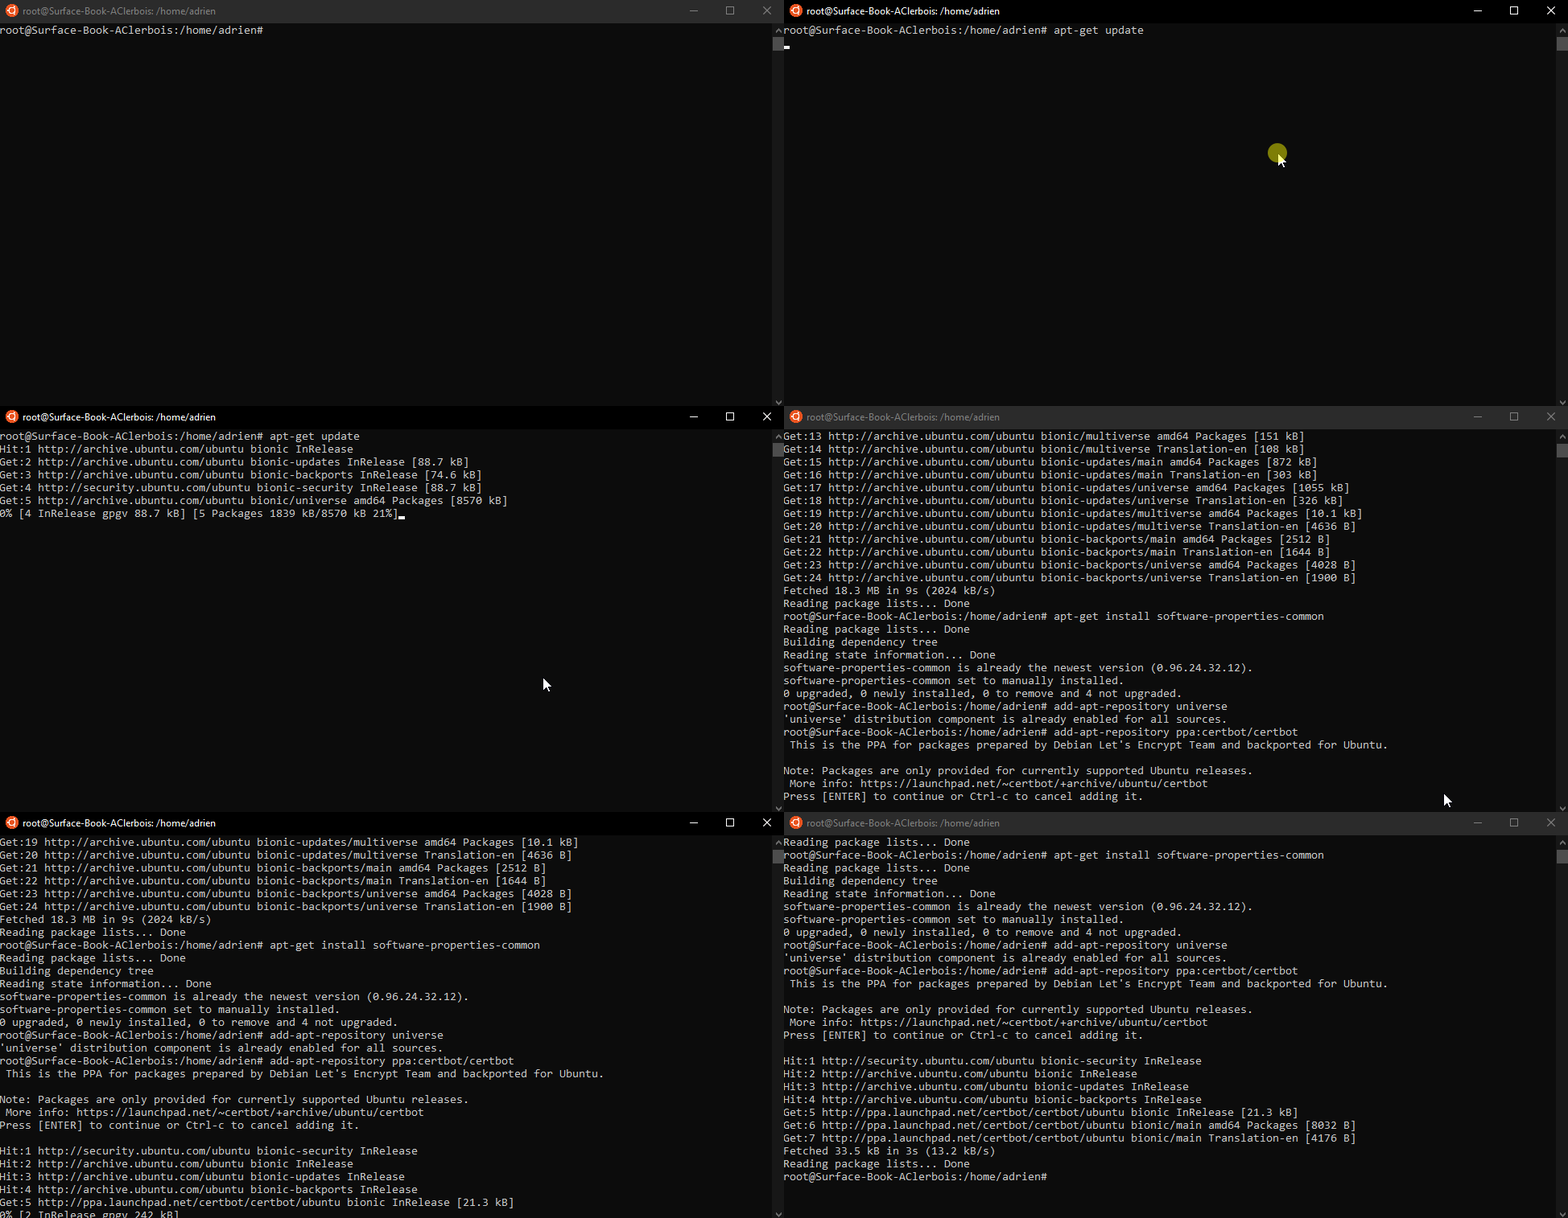
Update system and register PPA
Update your Linux system and add the Certbot PPA (Personal Package Archives) to your list of repositories.
sudo apt-get update
sudo apt-get install software-properties-common
sudo add-apt-repository universe
sudo add-apt-repository ppa:certbot/certbot
sudo apt-get update
Install Certbot
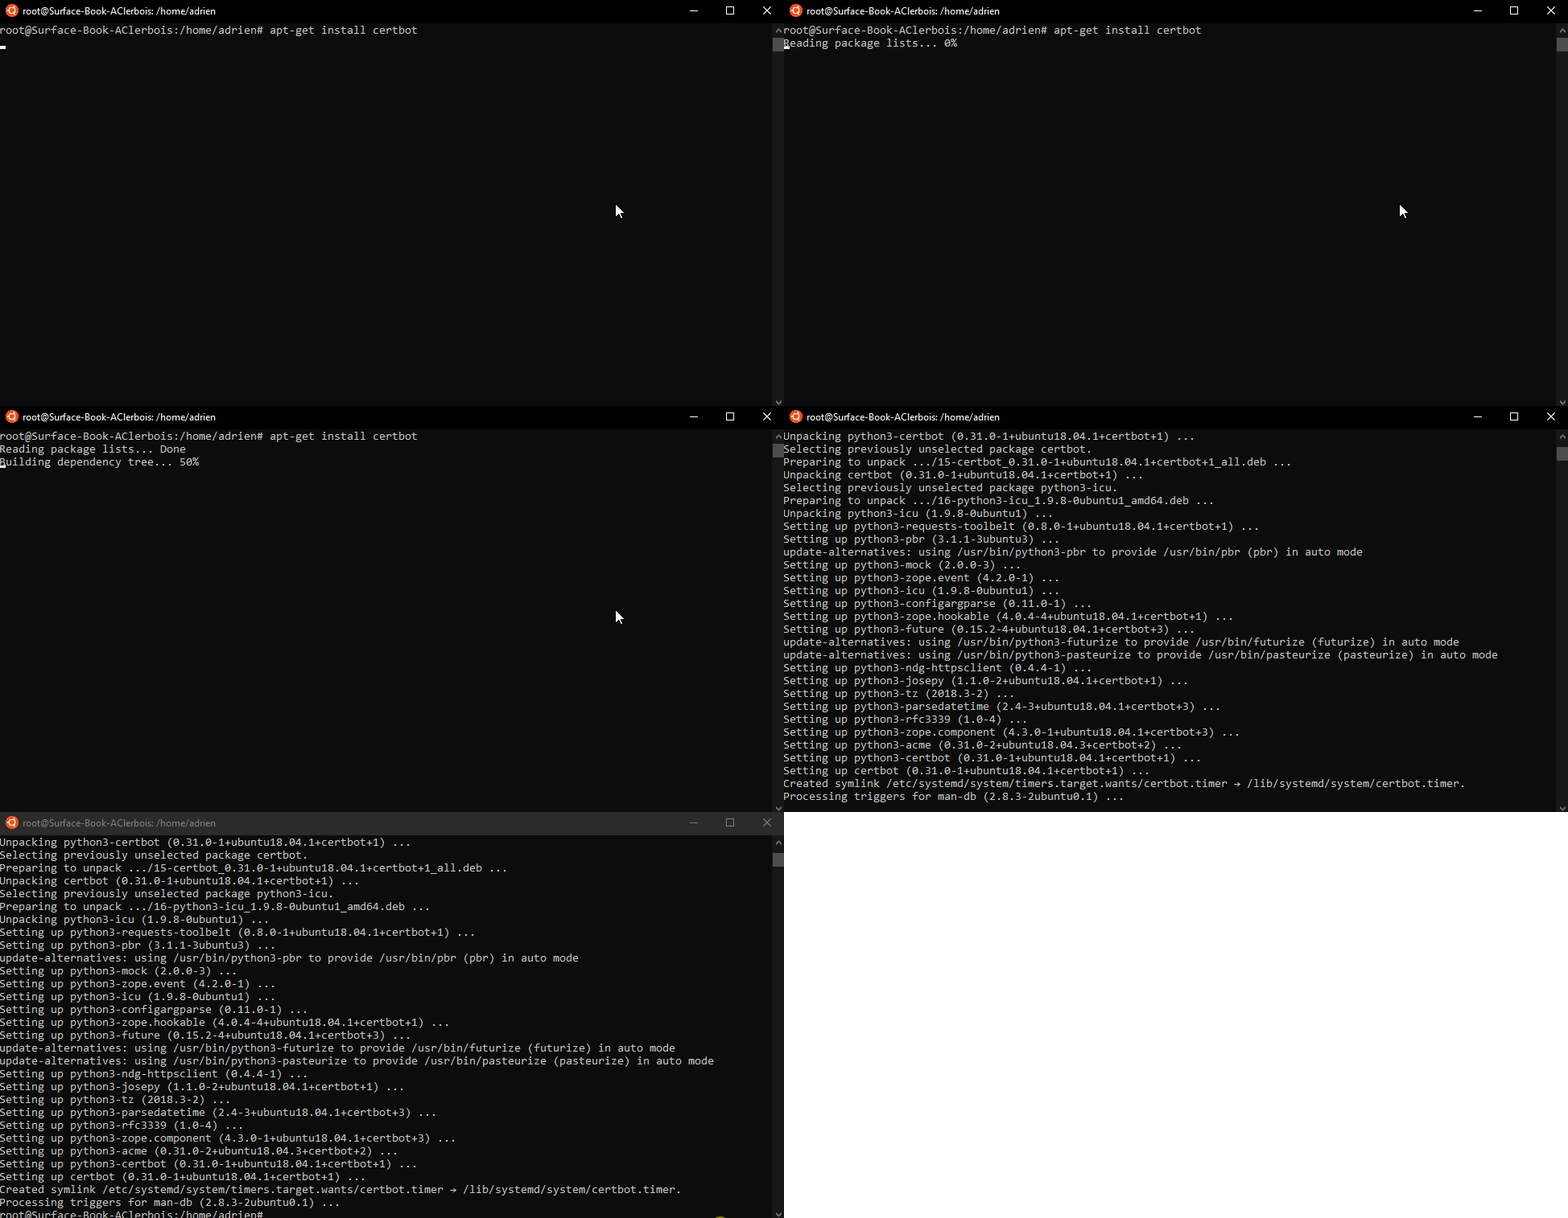
Once the PPA is referenced, you can install Certbot:
sudo apt-get install certbot
Creating public and private keys
Certbot allows you to generate certificates directly on the server that hosts your website. In my example, this is not the case.
I chose to opt for manual configuration. This requires you to copy and paste commands into another terminal session, which may be on a different computer. We will therefore perform the creation in two steps:
- The first step is to prove that the domain belongs to you.
- The second is to create the public and private keys.
The manual argument is a plugin. It can use either the http or the dns challenge. You can use the --preferred-challenges option to choose the challenge of your preference.
The
httpchallenge will ask you to place a file with a specific name and specific content in the/.well-known/acme-challenge/directory, directly in the top-level directory (“web root”) containing the files served by your web server. In essence it’s the same as the webroot plugin, but not automated.
When using the
dnschallenge, certbot will ask you to place a TXT DNS record with specific contents under the domain name consisting of the hostname for which you want a certificate issued, prepended by_acme-challenge.
certbot certonly -d [YOUR DOMAIN] --manual --preferred-challenges http
You will receive instructions to add a file into the .well-known folder.
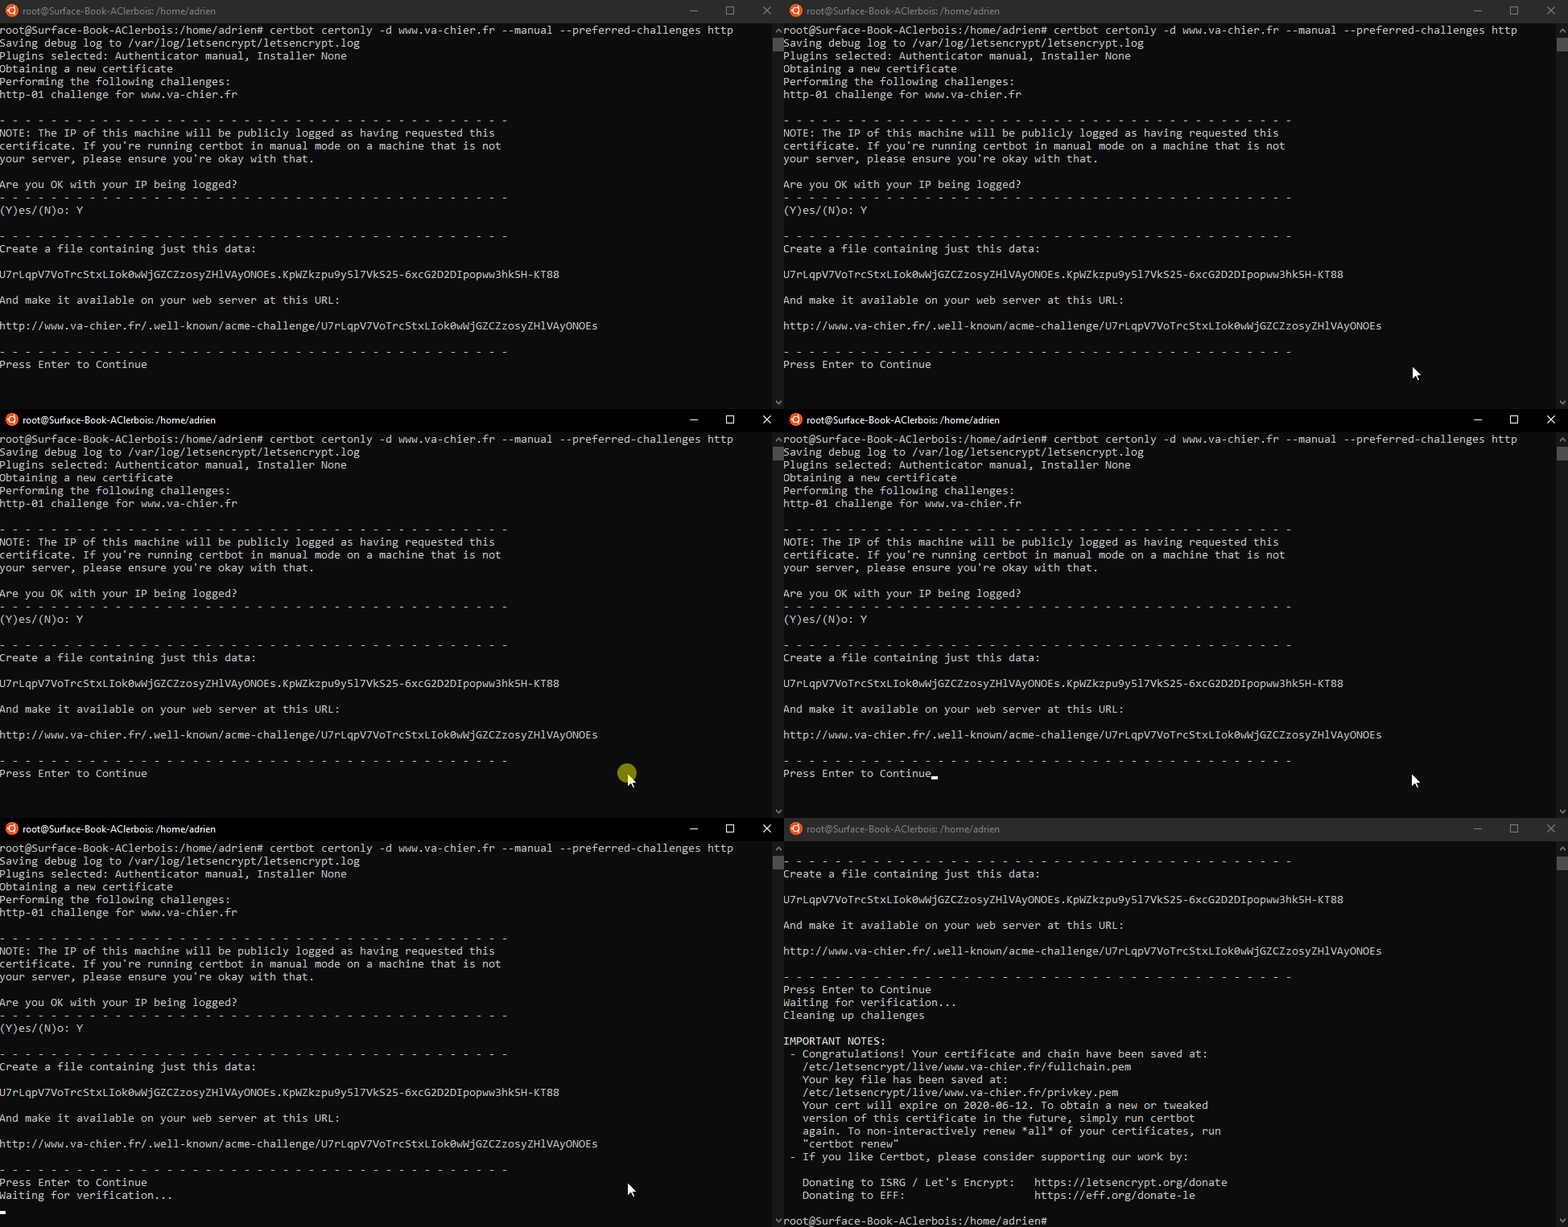
When the PEMs are generated, you can clean up the files inside the .well-known folder.
If you are using an ASP.NET Core website in version 3.1 or earlier, you must tell the middleware responsible for the static files to take the .well-known folder into account. Here’s an article that explains how to do this: Include .well-known folder in your asp.net core project
Create the PFX certificate file
Once the last step has been correctly validated, the console will display the folder where your newly generated keys are located.
You can jump to the directory:
cd /etc/letsencrypt/live/[YOUR DOMAIN]
If you list the contents of this folder, you will find 4 interesting files:
- cert.pem
- chain.pem
- fullchain.pem
- privkey.pem
We will create a PFX file based on these files. This generation relies on the famous OpenSSL tool:
openssl pkcs12 -export -out bundle.pfx -inkey privkey.pem -in cert.pem -certfile chain.pem -password pass:pass
Since I’m using WSL, and certbot generated the keys and OpenSSL generated the new certificate where I was, I just need to copy this PFX file to a folder accessible from my Windows so I can install it on my Azure website.
cp bundle.pfx /mnt/d/Hack/
Install certificate on Azure
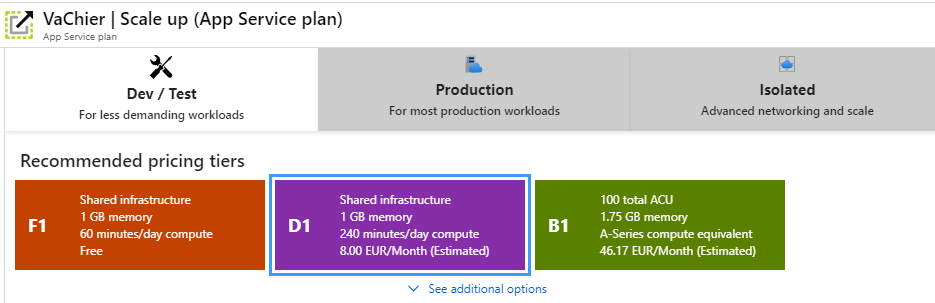
You need to have a website with a pricing tier of at least B1. This supports custom domains and the use of custom certificates.
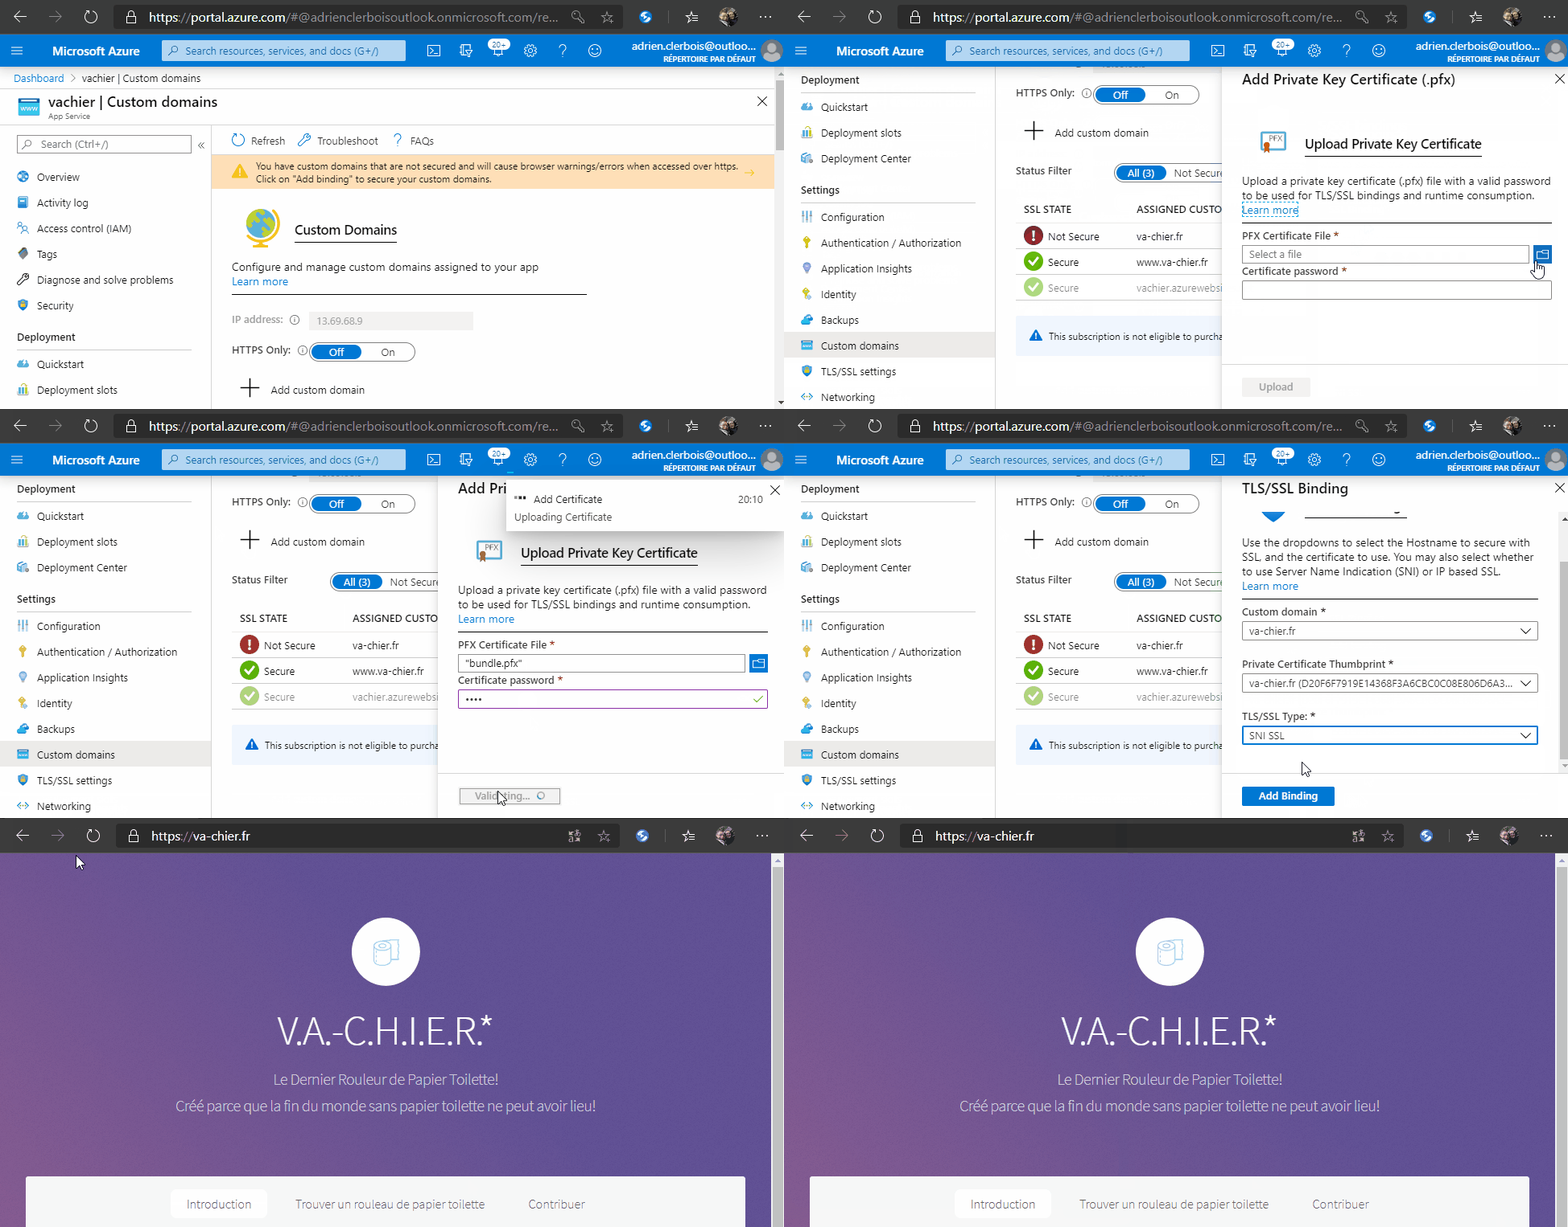
In order to associate your certificate with Azure, I made this step-by-step animation to show you how to do it: