
On one of the projects I had at Ingenico ePayments, I had to integrate ApplePay as a new payment method supported by the new Ingenico API. During the integration of ApplePay, we need to generate certificates to authenticate our server.
0. Requirements
For this tutorial, you should have OpenSSL installed. If you are on Windows, you can download it or use Windows Subsystem for Linux.
1. Generate the private key and CSR
The first step is to generate the private key and the CSR. The security algorithm required by Apple is RSA:2048 bits.
This is the command line to generate the private key and CSR:
openssl req -nodes -newkey rsa:2048 -sha256 -keyout certificate.key -out certificate.csr
2. Generate the certificate on the Apple Developer portal
Once you are logged in to the Apple Portal, under Identifiers, select Merchant IDs and select your merchant or create a new one.
You have the choice to create either an Apple Pay Processing Certificate or an Apple Pay Merchant Identity Certificate.
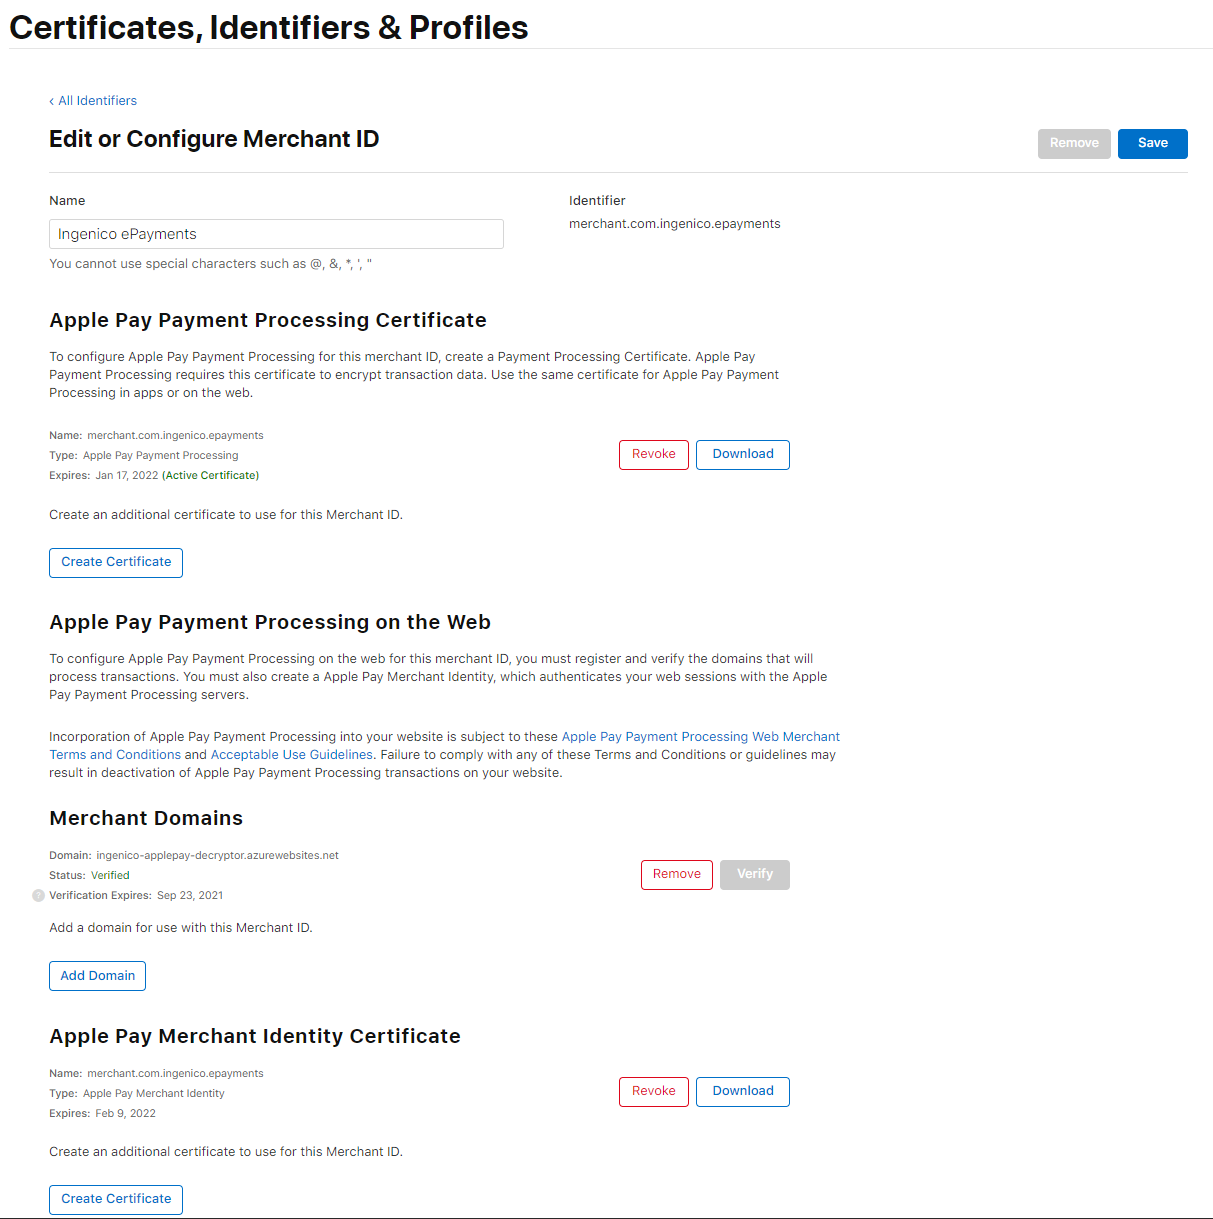
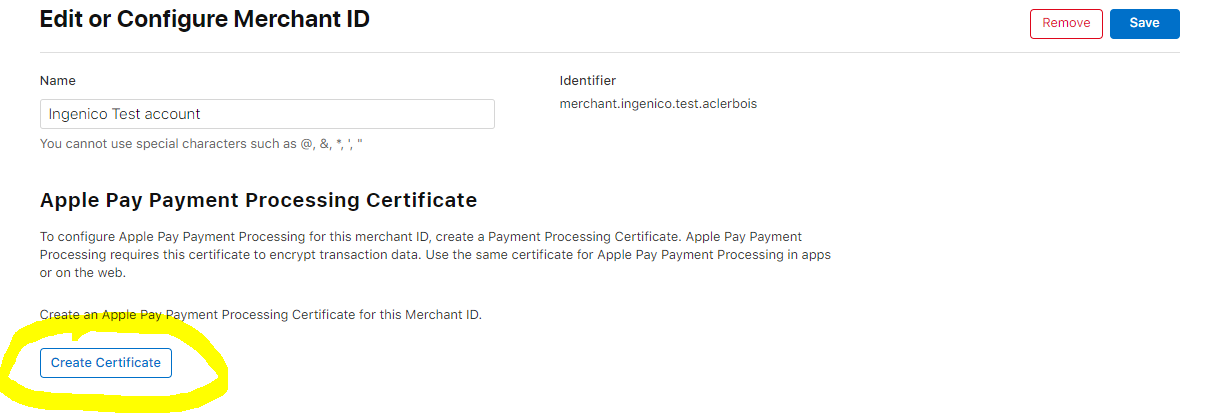
I chose to create a new Apple Pay Processing Certificate by clicking on Create Certificate.
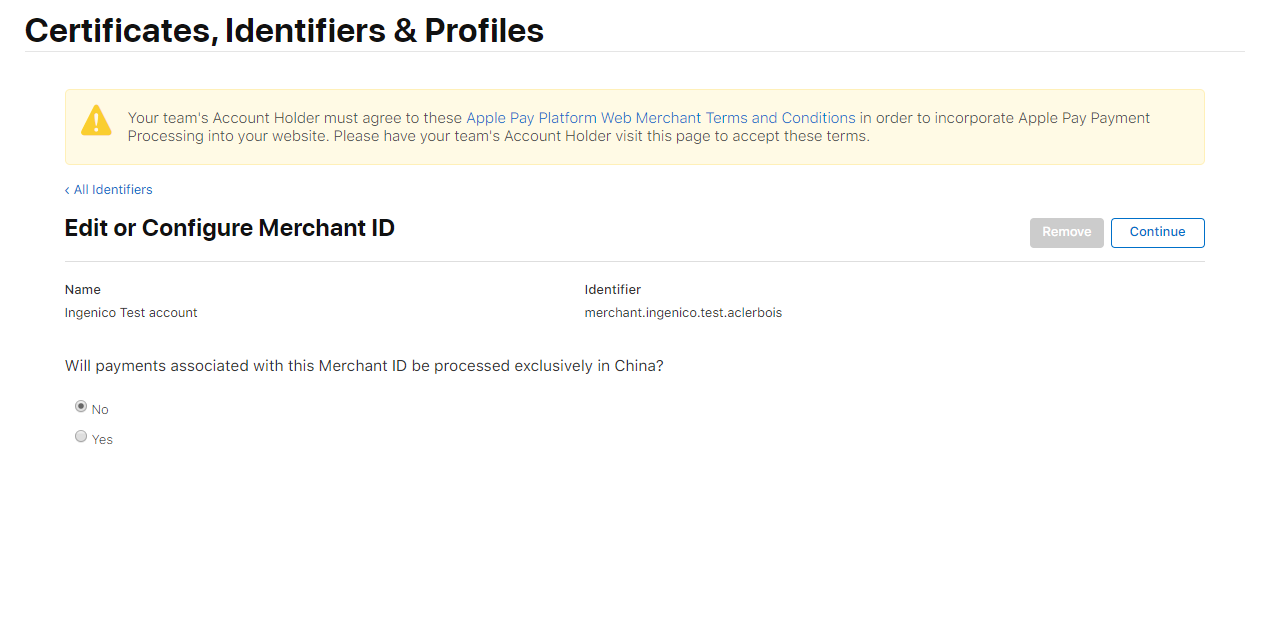
Unlike the other procedure, here you need to clarify if the target market will touch China.
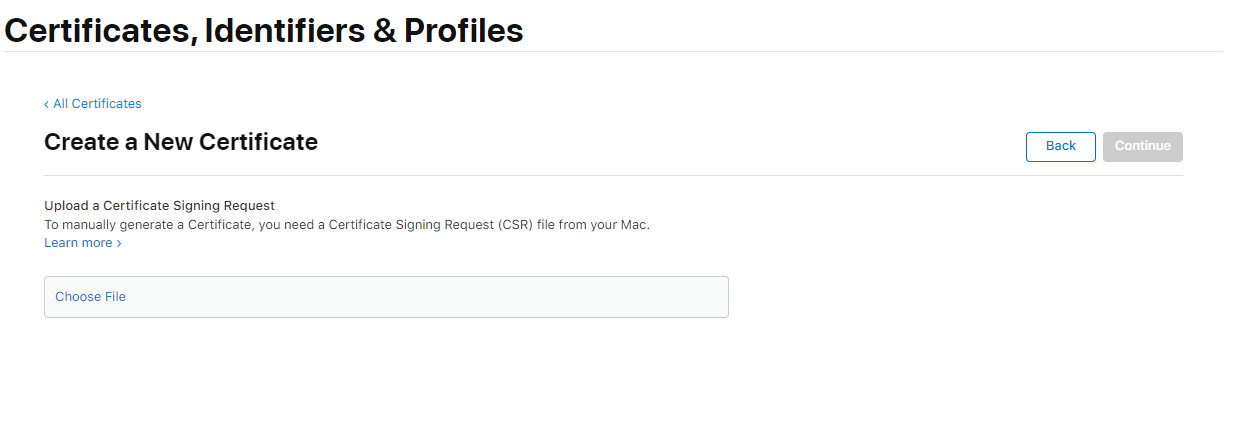
After this step, you can upload the file generated earlier (Step 1).
Once it is uploaded, you can download the certificate generated based on the key you provided.
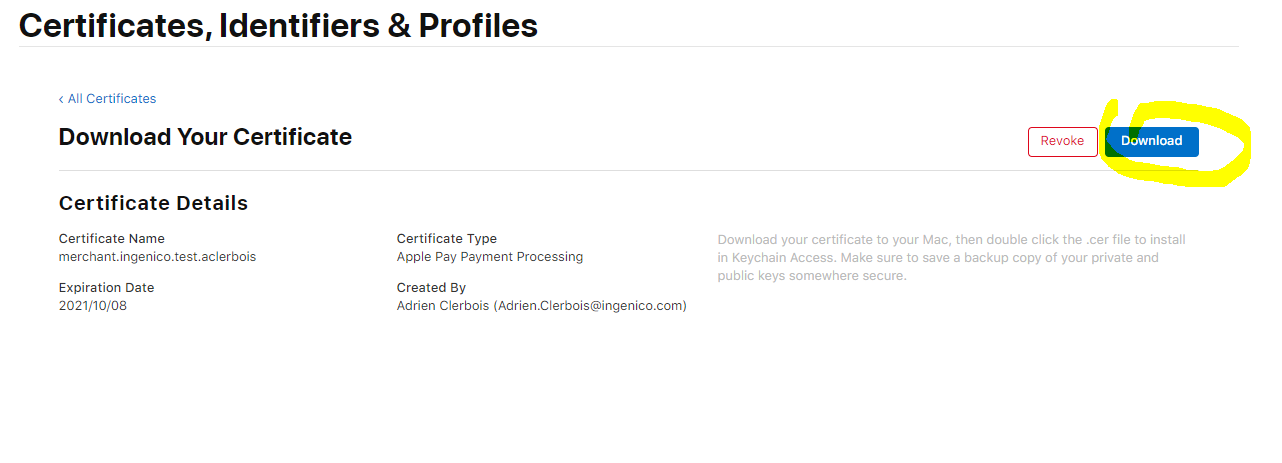
Keep the downloaded file, we’re going to need it for the final stage.
3. Generate the PFX file
Once you have the private key and the certificate generated from ApplePay, we can start to generate the PFX.
openssl x509 -inform der -in merchant_id.cer -out certificate.pem

openssl pkcs12 -export -inkey certificate.key -in certificate.pem -name Adrien_Clerbois -out certificate.pfx
During the second operation, you should set a password to protect your PFX. Don’t forget it!
4. Configure the HTTP client to use the generated PFX
In your ASP.NET application, you can add a specific HttpClient to use the certificate that we created in Step 3.
In this example, we add the certificate to the project and copy the file to the build directory.
      services
             .AddHttpClient<IApplePayClient, ApplePayClient>("ApplePay")
             .ConfigurePrimaryHttpMessageHandler(
                 (serviceProvider) =>
                 {
                     // Retrieve the certificate
                     var certificate = LoadCertificateFromDisk("path_to_cetificate", "password set on step 3");

                     var handler = new HttpClientHandler();
                     handler.ClientCertificates.Clear();
                     handler.ClientCertificates.Add(certificate);
                     handler.SslProtocols = SslProtocols.Tls12;

                     handler.ServerCertificateCustomValidationCallback += (a, b, c, d) => true;

                     return handler;
                 });

...
        private X509Certificate2 LoadCertificateFromDisk(string path, string password)
        {
            try
            {
                return new X509Certificate2(path, password, X509KeyStorageFlags.Exportable);
            }
            catch (Exception ex)
            {
                throw new InvalidOperationException($"Failed to load Apple Pay merchant certificate file from '{options.MerchantCertificateFileName}'.", ex);
            }
        }
...